

PUT bytes to blob storage, then complete ingest on the server.
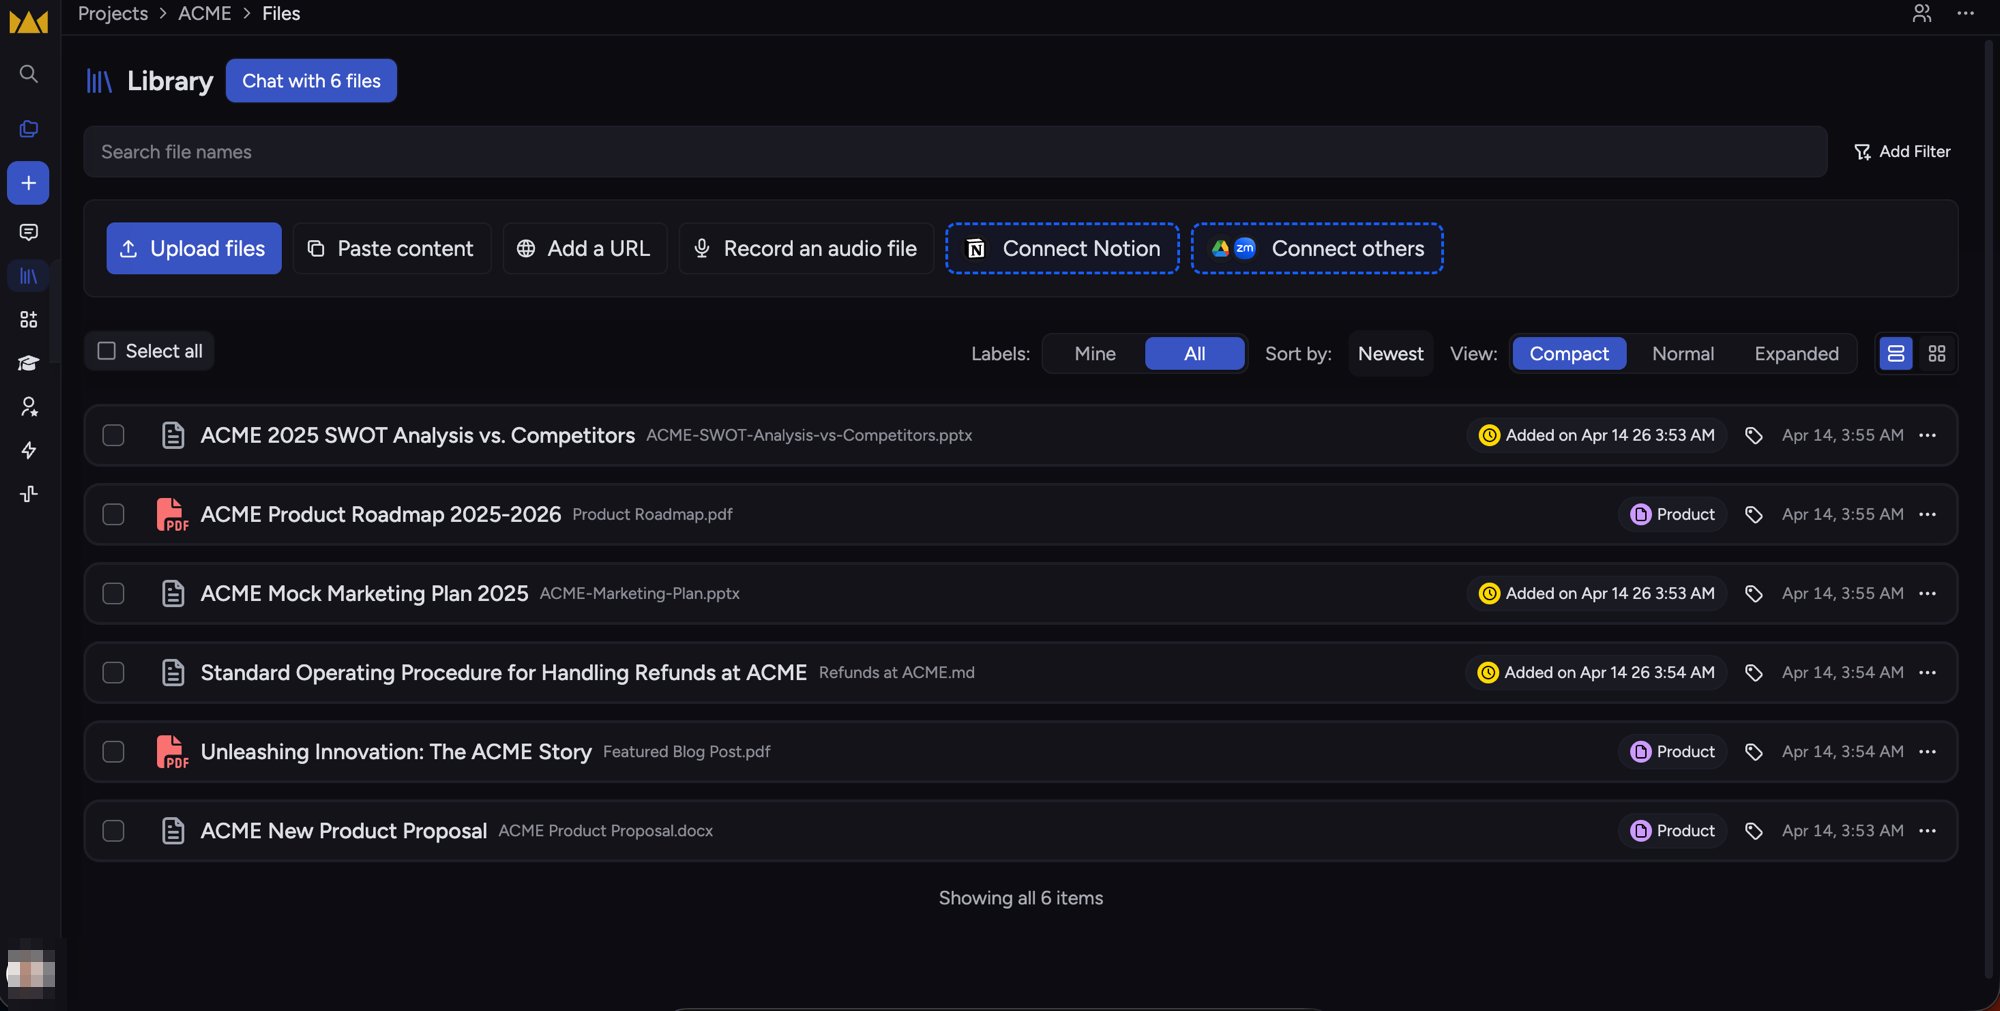
Uploaded assets land in your project's Library in Chief.
Lifecycle overview
Status values
The app shows a finer-grained version of the same progression — see Viewing asset details & file processing status if you are comparing what a user sees against what the API reports.
Step 1 — Create upload slot
POST /v1/assets with filename and mime_type:
Step 2 — Upload bytes
PUT the file to upload_url. Apply every header in upload_headers exactly as returned. The URL expires at expires_at.
Step 3 — Complete ingest
POST /v1/assets/{id}/complete with an empty body. The server reads size and MD5 from blob storage and starts ingest.
GET /v1/assets/{id} until status is ready or failed.
List assets
GET /v1/assets lists assets in the project with the same cursor pagination as chats (after_id, before_id, limit).
Use assets in chats
After an asset isready, pass its id in chat scope.asset_ids so the assistant can consult that file. See Chats.
Labels
Attach labels withPOST /v1/assets/{id}/labels. See Labels.
FAQ
How long is the upload URL valid?
How long is the upload URL valid?
Until the
expires_at timestamp returned with the slot. If it lapses before you finish the PUT, create a new upload slot and start again.Do I have to send every header from upload_headers?
Do I have to send every header from upload_headers?
Yes. Apply each header in
upload_headers exactly as returned. Blob storage rejects the PUT if they do not match.Why is my file not usable in a chat yet?
Why is my file not usable in a chat yet?
A file is only consultable once
GET /v1/assets/{id} reports status of ready. Before that it moves through uploaded and ingesting.What does completing the upload actually do?
What does completing the upload actually do?
POST /v1/assets/{id}/complete takes an empty body. The server reads the object’s size and MD5 from blob storage and hands the file to the ingest pipeline.How do I use an uploaded file in a chat?
How do I use an uploaded file in a chat?
Once the asset is
ready, pass its id in scope.asset_ids on a chat create or send. See Chats.