

Before you start
You need the Chief desktop app installed on your Mac and paired with your account.Start capturing
- Open the Chief Live Sessions App on your Mac before or at the start of your meeting. (It can also detect a meeting and prompt you.)
- Click the Project name beside the start control.
- Search for and select the Project where you want Chief to store the Live Session. You can also click New project to create one.
- Click Start Live Session and let the app listen.
- Hold your meeting as normal. Chief transcribes both your microphone and your computer’s audio.
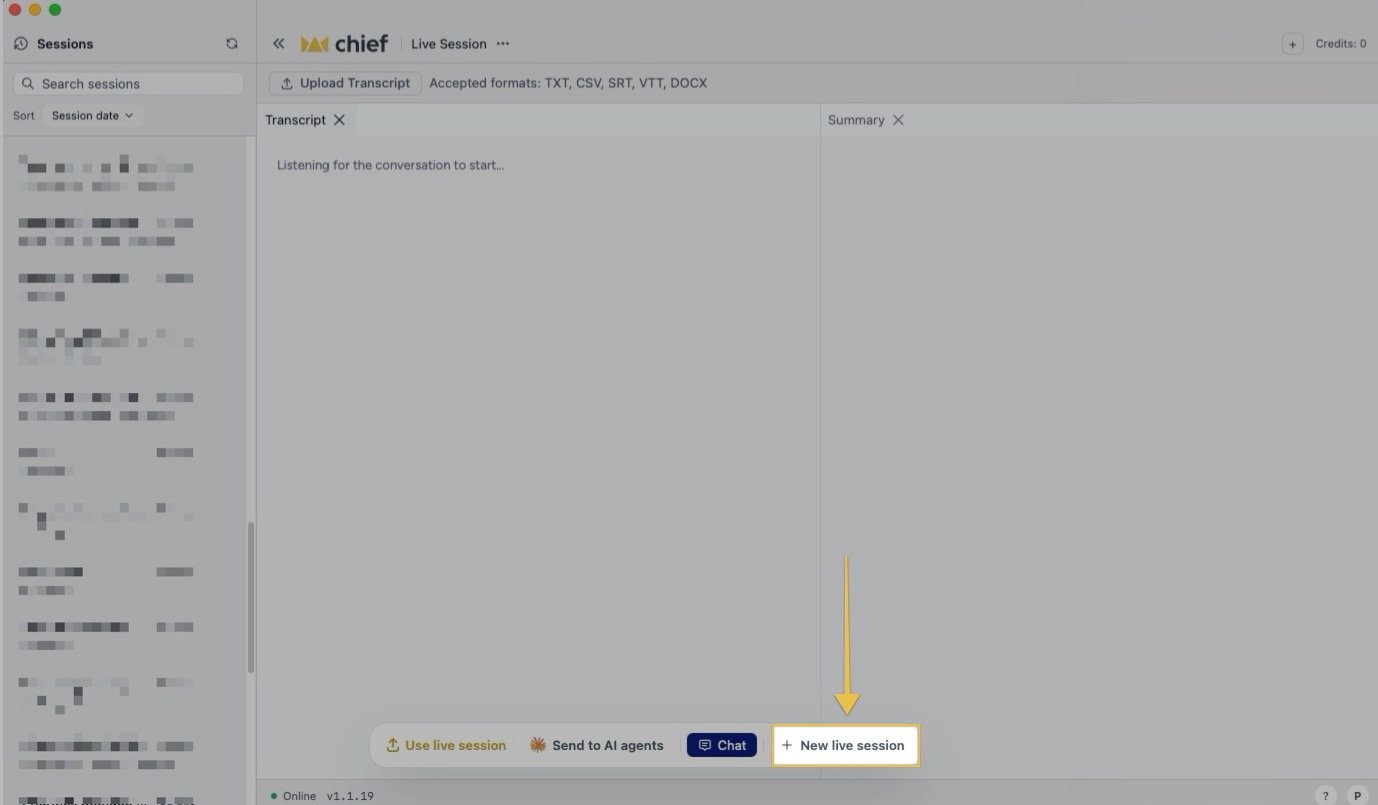
Use the app during a session
As Chief builds the transcript, you can add screenshots or paste images, create collaborative documents or canvases, share selected screen context, and invite participants or watchers. You can also change the theme or zoom level to adjust the app’s display.Watch it build in the web app
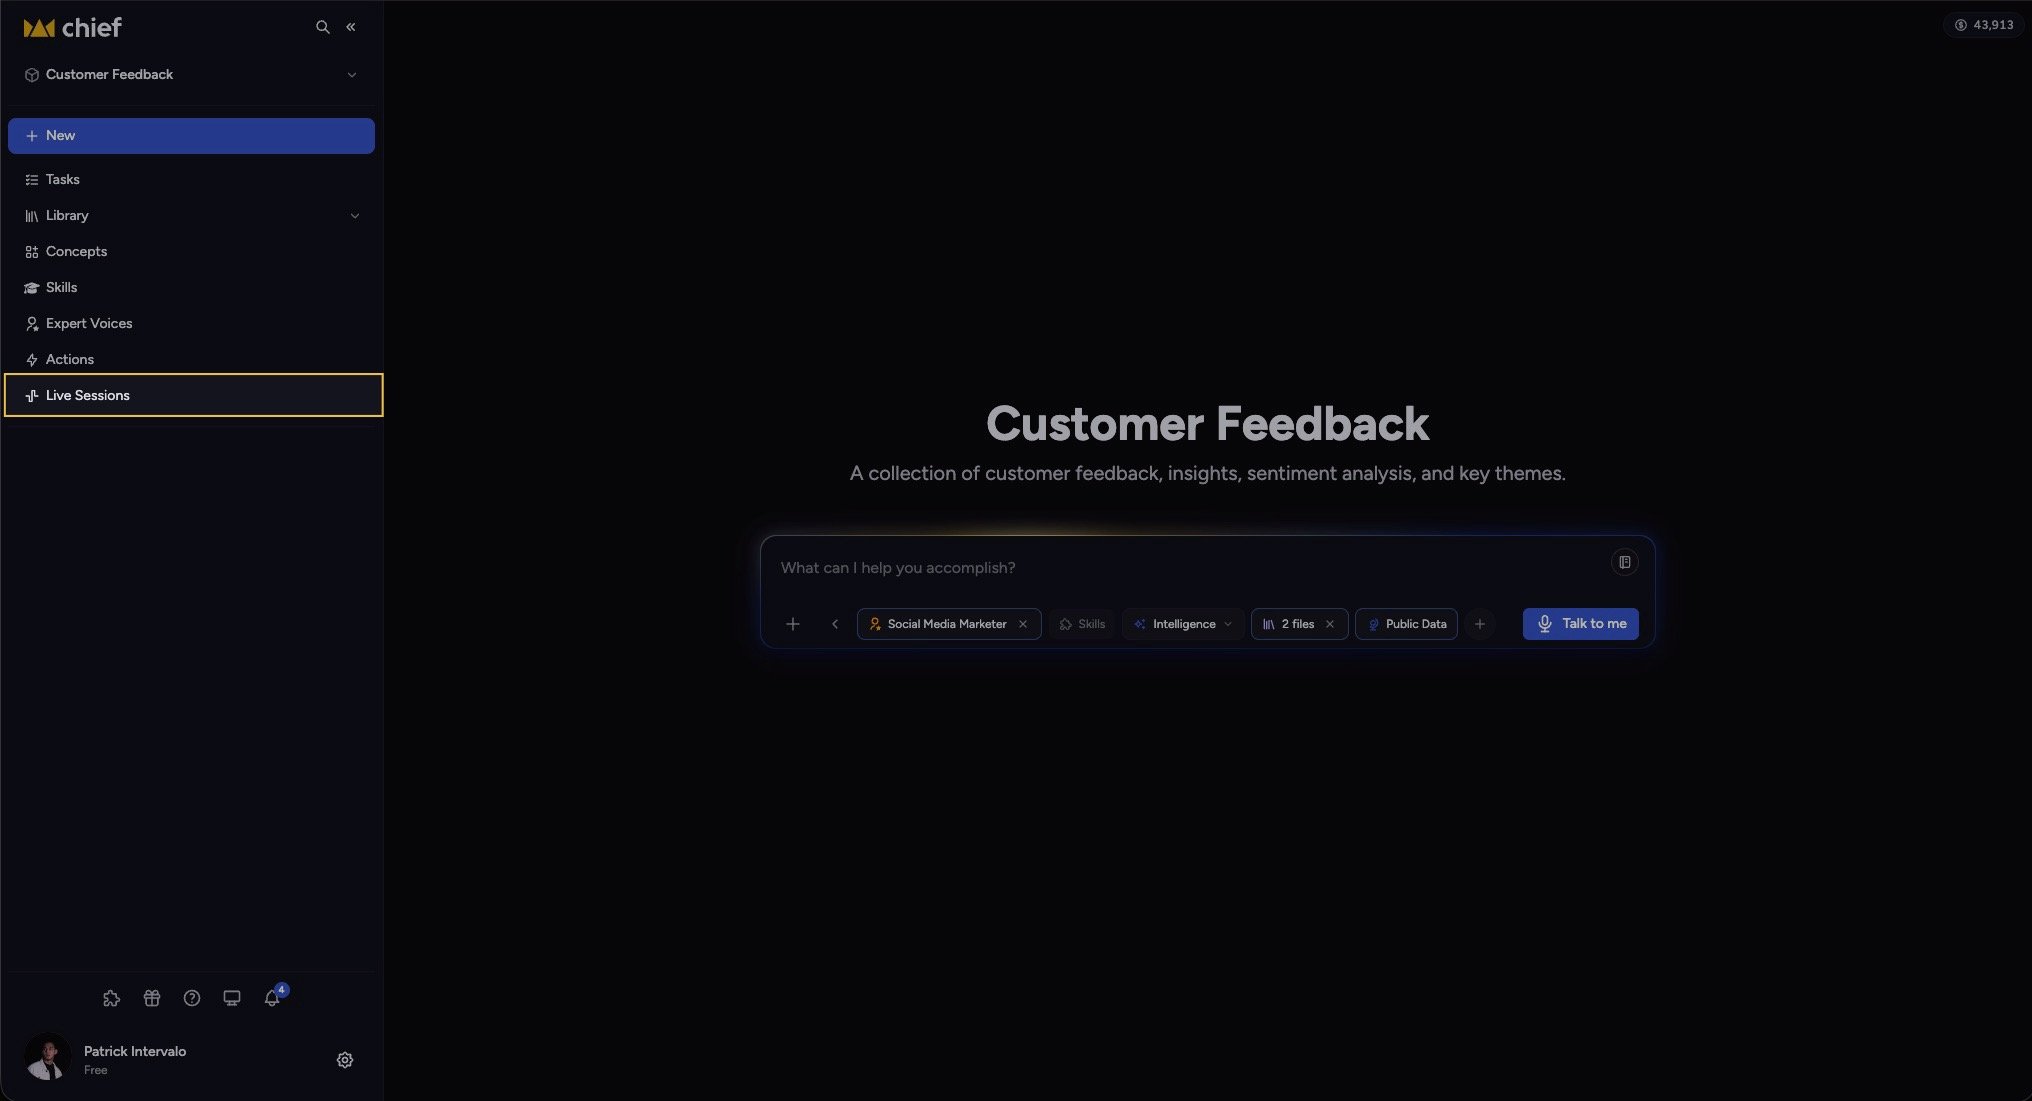
- In the web app, open Live Sessions from the left navigation.
- Open the session that’s recording — it shows a red Live badge while capture is active.
- As the meeting goes, the Transcript, Summary, Decisions, and Action items fill in.
Good to know: While a session shows the Live badge, the Delete option is hidden — you can only delete a session after it has finished recording.
Name your Session
New sessions may appear as Untitled session. To rename, open the session, click the pencil icon next to the title (or open the actions menu and choose Edit), type a name, and press Enter.FAQ
The session is recording but the transcript is empty. What's wrong?
The session is recording but the transcript is empty. What's wrong?
Chief isn’t hearing audio. Confirm the Mac app has microphone and system-audio permission in macOS, and that the meeting audio is actually playing through your computer. The page shows “No transcript yet” until audio arrives.
Why can't I delete a session?
Why can't I delete a session?
Delete is intentionally unavailable while a session is still recording (it shows the Live badge). Once capture ends, the delete option returns.
Can I run a Live Session without joining a video call?
Can I run a Live Session without joining a video call?
Yes — Chief captures whatever audio reaches your Mac (your mic and system audio), so it works for in-person discussions too, as long as the app is running and has audio access.
I saved the session to the wrong Project. Where will I find it?
I saved the session to the wrong Project. Where will I find it?
The session remains in the Project selected when capture started. Open that Project in the Web App, then click Live Sessions. Choose the destination carefully before your next session because the Project picker is disabled during recording.
Contributors
The Chief engineering team thanks the following external contributors for helping build the Live Sessions App:- Ansh Vasani — contributed the gostcontext open-source project, a lightweight, dependency-free macOS tool that records on-screen activity as a compact, timestamped XML timeline that AI and text tools can read directly.