

A Project is your shared workspace
Projects are a great way to collaborate with colleagues, teams, and communities. Each Project holds its own Library of Files, its tasks, and its members — so the people you invite see the same data and can work alongside you.Create a Project
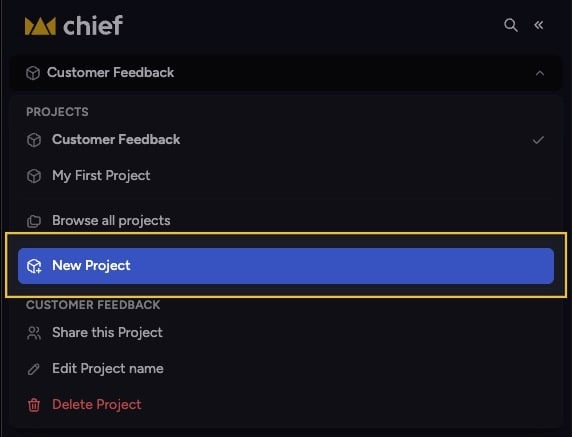
- In the left sidebar, click the active Project name, then click New Project.
- In the “New Project” dialog, type a name in the “Project name” field (placeholder “e.g., Q4 Planning”). You can also add an optional “Description.”
- Under the “Project plan & billing” heading, choose how usage is charged:
- “Use my plan for everyone” — all project usage is charged to your account.
- “Members use their own plans” — each member’s usage is charged to their own account.
- Click “Create project”. Its name now appears in the navigation and on the project home screen.
Good to Know: The billing choice you make here decides who pays for credits used inside the Project. Pick “Use my plan for everyone” if you want to cover usage for guests or teammates who don’t have their own plan.
FAQ
Can I change the billing option after creating the Project?
Can I change the billing option after creating the Project?
The billing model is set when you create the Project and can’t be changed afterward. Check the project’s plan and billing settings to review it.
How do I get teammates into the Project?
How do I get teammates into the Project?
Use the project’s share options to invite people by email, by domain, or with a secret link. See Inviting your team for the full walkthrough.