

Add a file, then start a task with it
Uploading a document adds it to your Library — the place where you upload documents, data, and other files to reference in your tasks. Once a file finishes processing, you can ask Chief questions about it directly.Upload from the prompt bar
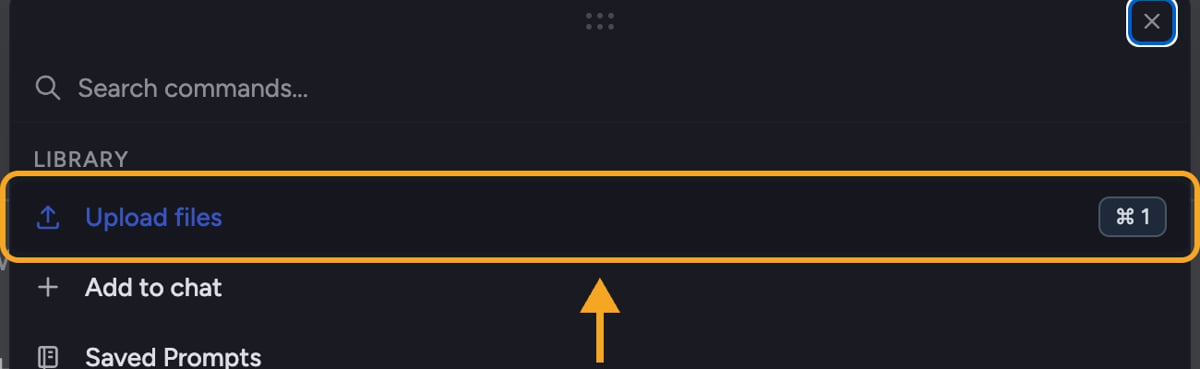
- In the prompt bar, click the + (plus) button to open the Command Center menu.
- Click “Upload files”.
- Pick the document from your computer in the file picker and confirm.
- Watch the “Uploading Files” progress window. You’ll see “Uploading 1/1 files” and a note that “You can close this pop-up. Your files will keep uploading.”
- When it’s done you’ll see “All files ready” and a “Start a task with 1 file” button to jump into a conversation about it.
Or drag and drop

- Drag a file from your computer over the Chief window.
- A full-screen dropzone appears reading “Drop files here” with “Upload your files to add them to the conversation”.
- Release the file to start the upload.
Good to Know: Chief accepts essentially any file type — documents, data, video, audio, or images. After upload, each file moves through stages: “Queued for upload,” “Uploaded. Processing your file so you can work with it,” and finally “Ready.” Larger files take a little longer to process.
FAQ
Files above the maximum size are rejected with that message. If your file is too large, split it into smaller files or compress it before uploading. (The exact maximum is enforced by Chief’s servers and shown in the error message.)
I got "File type is not supported." What can I do?
I got "File type is not supported." What can I do?
Most file types are accepted, but a few are rejected on the server. Convert the file to a common format (such as PDF or DOCX) and try again. If it still fails, use Get Help.
A file failed to upload. Can I retry?
A file failed to upload. Can I retry?
Yes. The upload view offers to let you try the file again, and a “Get Help” link if it keeps failing.