

What Labels do
Labels are tags you put on files in your Library. A Label has a name, a color, and an icon, so once you tag a file you can recognize it instantly and pull every file with that Label into a task. This article covers creating a Label and choosing how it looks.Open the Labels page

- In your Library, go to the Labels page (it shows the Project Labels heading with a tag icon).
- Click Create Label. If your Project has no Labels yet, use the button in the empty state. If it already has Labels, use the button next to the Project Labels heading. The Create a new Label dialog opens.
ℹ️ Good to Know: You need to be signed in to create a Label. If you are browsing as a guest, clicking Create Label prompts you to sign up first.
Name the Label
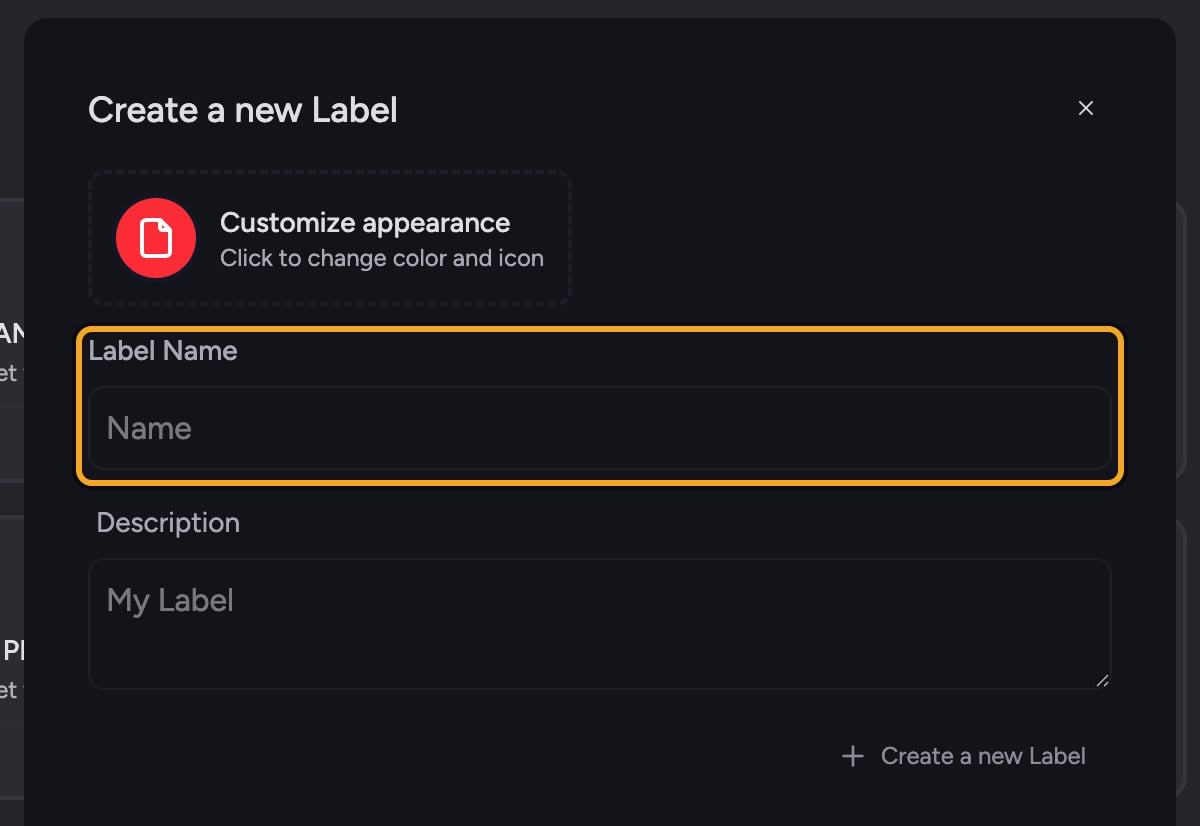
- In the dialog, click the Label Name field and type a name (for example, Q3 Planning). The name is required.
- Optionally, click the Description field below and add a short note about what the Label is for.
Choose a color and icon
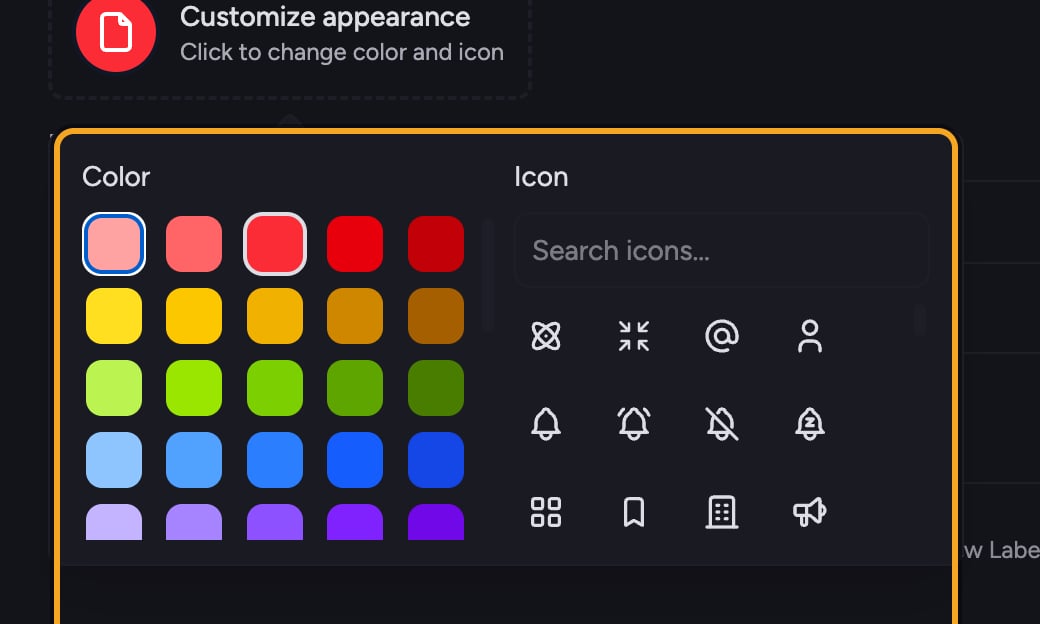
- At the top of the dialog, click the appearance tile (the dashed-border box showing a colored circle and the text Customize appearance / Click to change color and icon). A picker opens with two columns: Color and Icon.
- In the Color column, click any color swatch. The selected swatch gets a ring around it, and the preview circle updates immediately.
- In the Icon column, type in the Search icons… field to narrow the list, then click an icon. The selected icon gets a ring around it.
- Once you have picked both a color and an icon, the picker closes on its own and the preview tile shows your choices.
Save the Label
- Click the Create a new Label button at the bottom of the dialog.
- The dialog closes and your new Label appears on the Labels page, ready to use.
Editing a Label later
On the Labels page, open a Label’s menu and choose Edit Label to change its name, description, color, or icon at any time. Changes apply everywhere the Label is used. Labels can also be minted from code —POST /v1/labels takes the same name, color, and icon you set here. See the Labels guide.
Frequently asked questions
I clicked Create but got "Label name already exists" — what happened?
I clicked Create but got "Label name already exists" — what happened?
Label names must be unique in your project. Chief won’t create a second Label with a name you already have. Change the name in the Label Name field and click Create a new Label again.
Can I use any color or icon I want?
Can I use any color or icon I want?
You choose from Chief’s built-in palette of color swatches and its icon set. Use the Search icons… field to find an icon quickly by name.
Do I have to set a color and icon?
Do I have to set a color and icon?
No. A Label starts with a default color and icon, so you only need a name. Customizing the appearance is optional but makes Labels easier to scan.