

Manage a file
Every file in your Library has actions for renaming, moving, copying, downloading, and deleting. Open a file’s menu to reach them.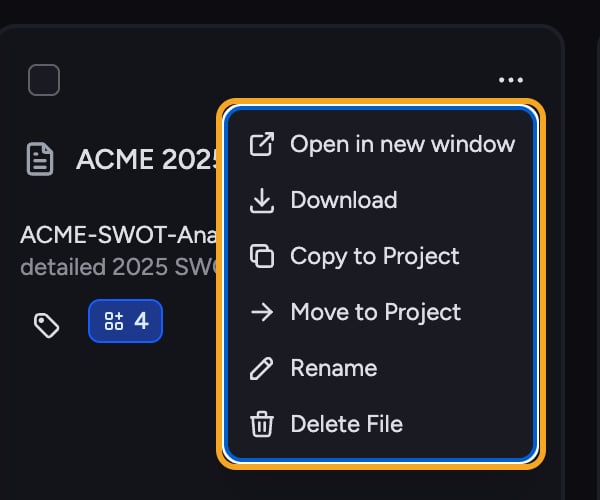
Rename a file
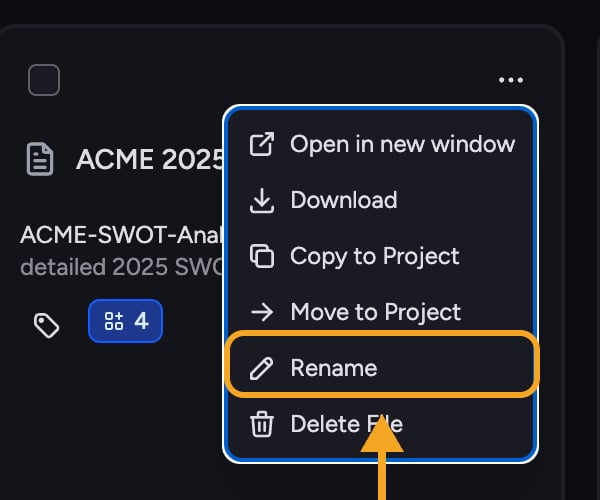
- Open the file’s menu and choose Rename.
- In the Rename File dialog, edit the Display name field.
- Click Save.
Move a file to another project
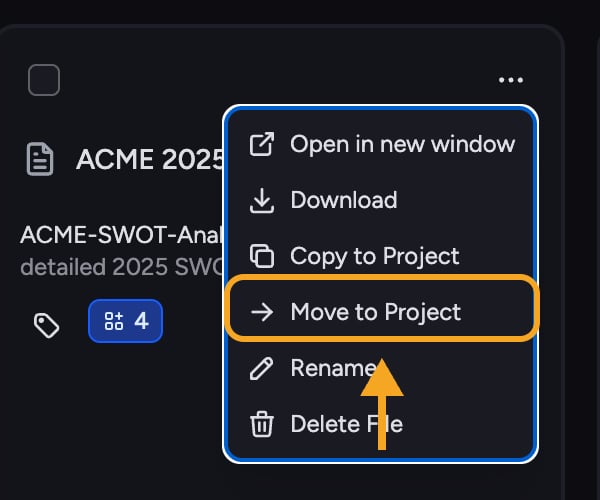
- Open the menu and choose Move to Project.
- Pick the destination project. You can keep the file’s Labels with it using the label-transfer option.
- Confirm. When it succeeds, choose to stay where you are or go to the destination project.
Copy a file to another project
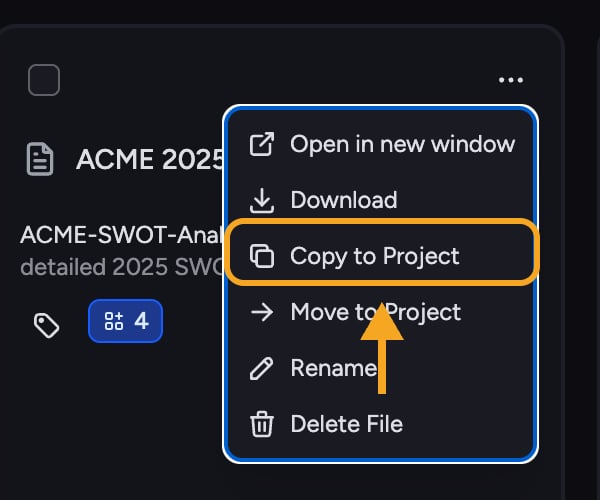
- Open the menu and choose Copy to Project.
- Pick the destination project and confirm. The original stays in place and a copy is added to the other project.
Delete a file
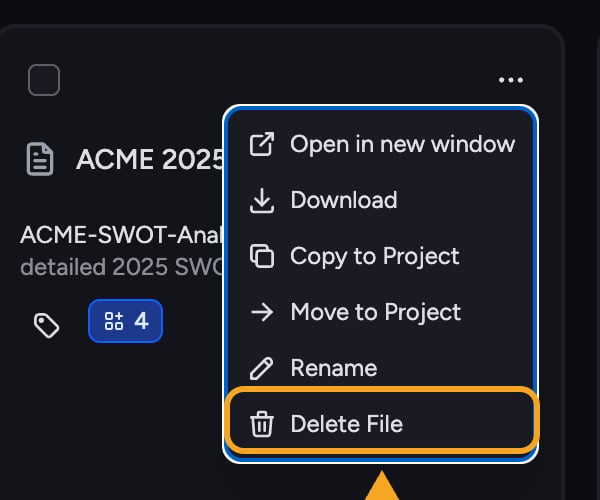
- Open the menu and choose Delete File.
- Confirm in the warning dialog. The file is removed from this project’s Library.
FAQ
Some files could not be copied. Why?
Some files could not be copied. Why?
You may not have permission to add files to the destination project. Contact that project’s owner or administrator if you believe you should.
If I move a file, does it stay in the original project?
If I move a file, does it stay in the original project?
No. Moving relocates the file to the destination project. Use Copy to Project instead if you want it in both places.
I deleted a file by mistake — can I get it back?
I deleted a file by mistake — can I get it back?
Deleting removes the file from this project for good; there’s no undo. To restore it, add it again — re-upload the file, re-add the URL, or copy it back from another project if you still have it there.