

Call the Chief API with a personal access token
Personal access tokens let you call the Chief API on your behalf — for integrations and automation. A token authenticates API requests with your account’s permissions, so treat it like a password. What you can do with a token lives in the developer docs: the Quickstart gets you a first answer back, and Build on Chief covers the MCP server, the REST API, and thechief command-line client.
Create a token
- Open Settings and go to the tokens section.
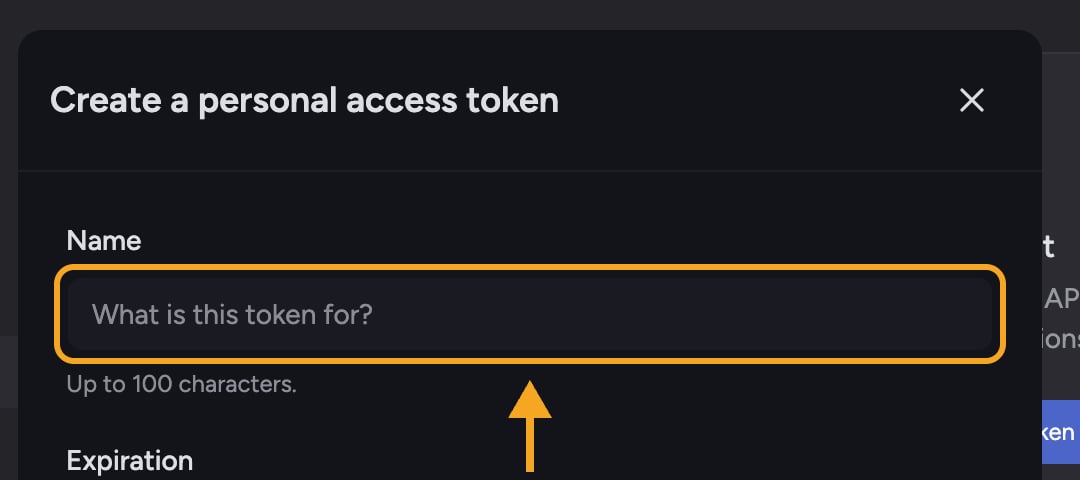
- Click Create token. The Create a personal access token window opens.
- In Name, enter what the token is for (up to 100 characters).
- Choose an Expiration: 30 days, 90 days, 365 days, or Custom date. Picking Custom date reveals a date-and-time picker. The server enforces a one-year maximum.
- Click Generate token.
See your tokens
Each token in the list shows its name, a short prefix, when it was Created, when it was Last used (or Never), and when it Expires (or Never). Active tokens are listed first; revoked ones appear struck through with a Revoked badge.Revoke a token
- Find the token in the list and click Revoke.
- Confirm in the Revoke this token? dialog.
FAQ
I closed the window without copying my token. How do I get it back?
I closed the window without copying my token. How do I get it back?
You can’t — a token is shown only once. Create a new token, copy it this time, and revoke the old one.
My API requests suddenly return errors.
My API requests suddenly return errors.
Check the token in the list. If it’s Revoked or past its Expires date, it no longer works — create a new one. Also confirm your account still has the permissions the request needs, since tokens act with your account’s access. Every API failure carries a stable code you can read — see Errors.
Can I create a token without an expiration?
Can I create a token without an expiration?
The shortest presets are 30, 90, and 365 days, and the server caps expiration at one year. Choose Custom date to set a specific expiry within that limit.