

Open the Share this Project window
All three invite methods live in the same place.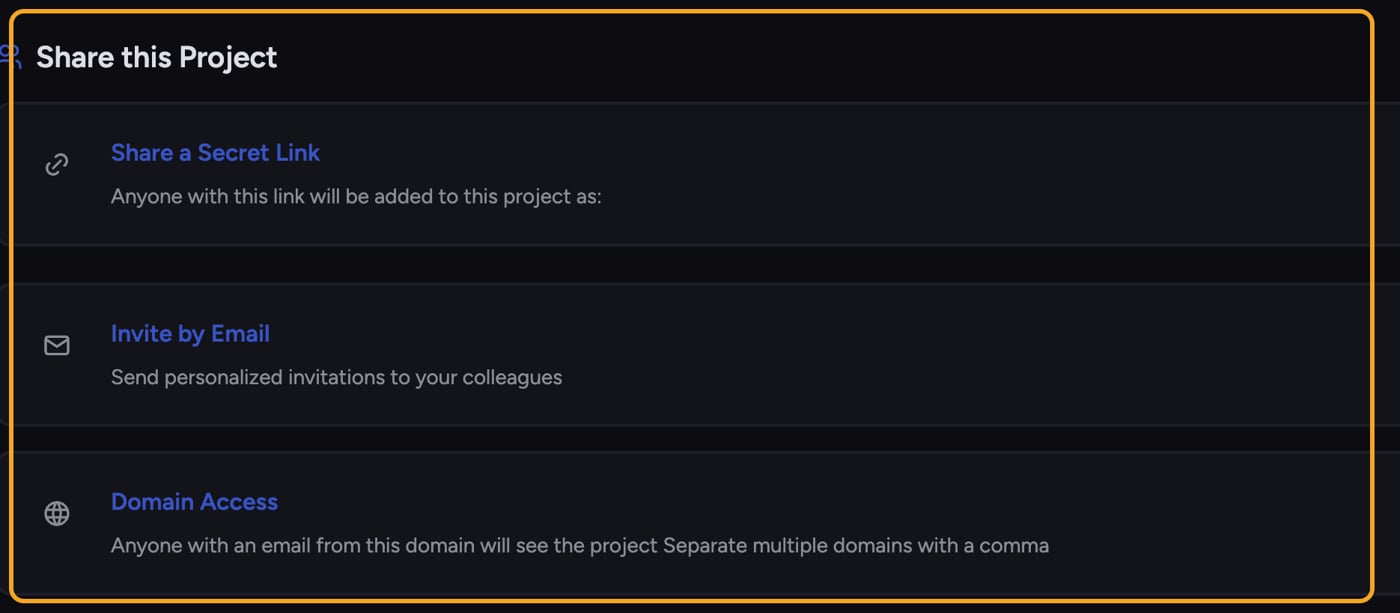
- Open the Project you want to share.
- In the sidebar, open the Projects dropdown and select Share this Project.
Invite by email

- In the Share this Project window, open the Invite by Email section.
- In the email field, type one or more addresses, pressing Enter or comma between them.
- Use the role dropdown next to the field to set the role for these invitees (Owner, Collaborator, or Reader). It defaults to your own role (the role you hold in the Project).
- Click Add. Chief sends each person an invitation.
Invite by domain
Best for letting everyone at your company join without naming each person.- Open the Domain Access section.
- Type a domain (for example, acme.com) in the field. Separate multiple domains with a comma.
- Set the role with the dropdown.
- Click Add.
Share a secret link
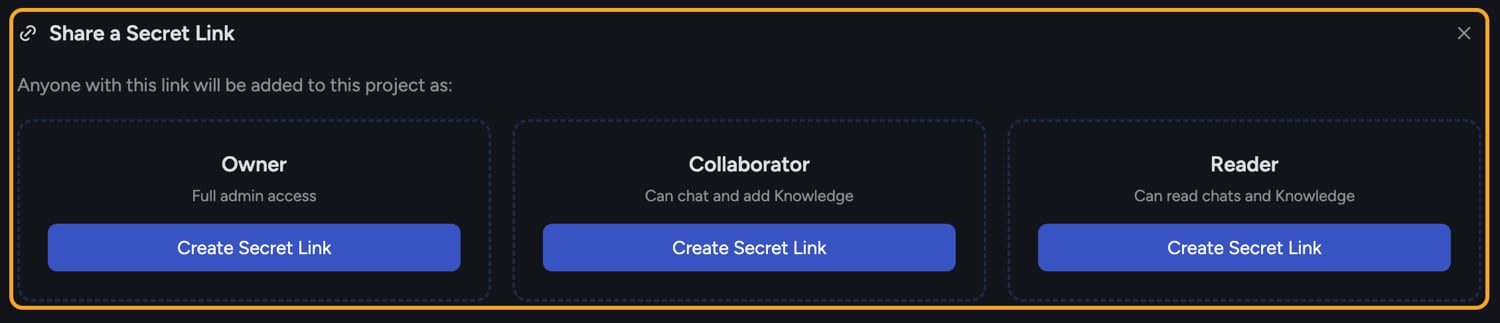
- Open the Share a Secret Link section.
- Choose the role the link should grant. The section shows what each role can do — Owner is Full admin access, Collaborator Can task and add Knowledge, Reader Can read tasks and Knowledge.
- Click Create Secret Link.
- Click Copy Link and share it.
What happens for the person you invite
When someone opens an invite, Chief adds them to the Project and takes them to its home. If they aren’t signed in yet, they’re sent to sign up first, then added automatically once their account exists.Frequently asked questions
Someone clicked my invite link and it said the link was invalid or expired.
Someone clicked my invite link and it said the link was invalid or expired.
The link may have been deleted, or the invitation is no longer valid. Create a fresh secret link, or invite that person directly by email.
Can I pick a different role for different people in one batch?
Can I pick a different role for different people in one batch?
Yes for email and domain invites — after adding entries, each one has its own role dropdown you can change before or after sending.