

Record without leaving Chief
You can record audio directly in Chief — a meeting recap, a voice note, an idea — and save it straight to your Library. Once it processes, you can start a task with it like any other file.Make a recording
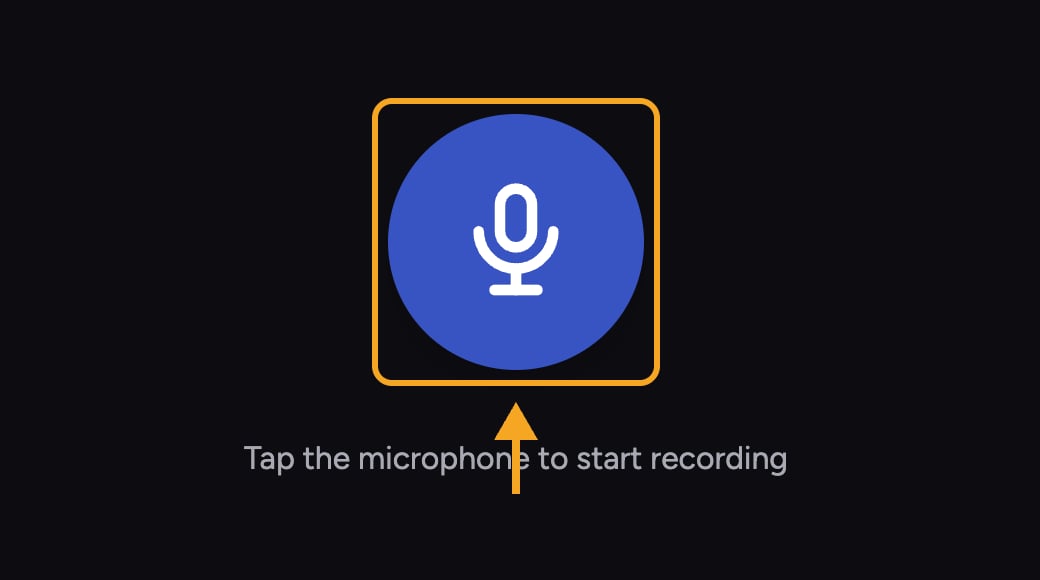
- Open the Record Audio recorder in Chief.
- Tap the microphone button to start. If your browser asks, allow microphone access.
- The timer counts up as you record. Tap the button again to pause, and tap once more to resume.
- When you are done, click Finish.
- Preview the recording with the player. Click Discard to throw it away, or Upload to keep it.
- In the Name Your Recording dialog, type a name (or leave it blank to use the default) and confirm to save it to your Library.
ℹ️ Good to Know: Leave the tab open while the recording uploads. Once saved, it processes like any other file before it is ready to use in a task — you can follow its processing status in the file’s details.
FAQ
Chief says microphone access was denied. How do I fix it?
Chief says microphone access was denied. How do I fix it?
Your browser blocked the microphone. Allow microphone access for Chief in your browser settings and try again.
I see "No microphone found."
I see "No microphone found."
Chief could not detect a microphone. Connect one, make sure it is selected as your input device, and try recording again.
I closed the tab before uploading — is my recording saved?
I closed the tab before uploading — is my recording saved?
No. A recording is only saved after you click Finish and then Upload and name it. If you close the tab, refresh, or click Discard before uploading, the recording is lost — so finish and upload before leaving the page.