

Why you need the Mac app
Live Sessions are captured by the Chief desktop app on macOS. The app listens to your microphone and your computer’s audio during a meeting; the web app is where the transcript and results show up afterward. You can’t capture a meeting from the web app alone.Download and install
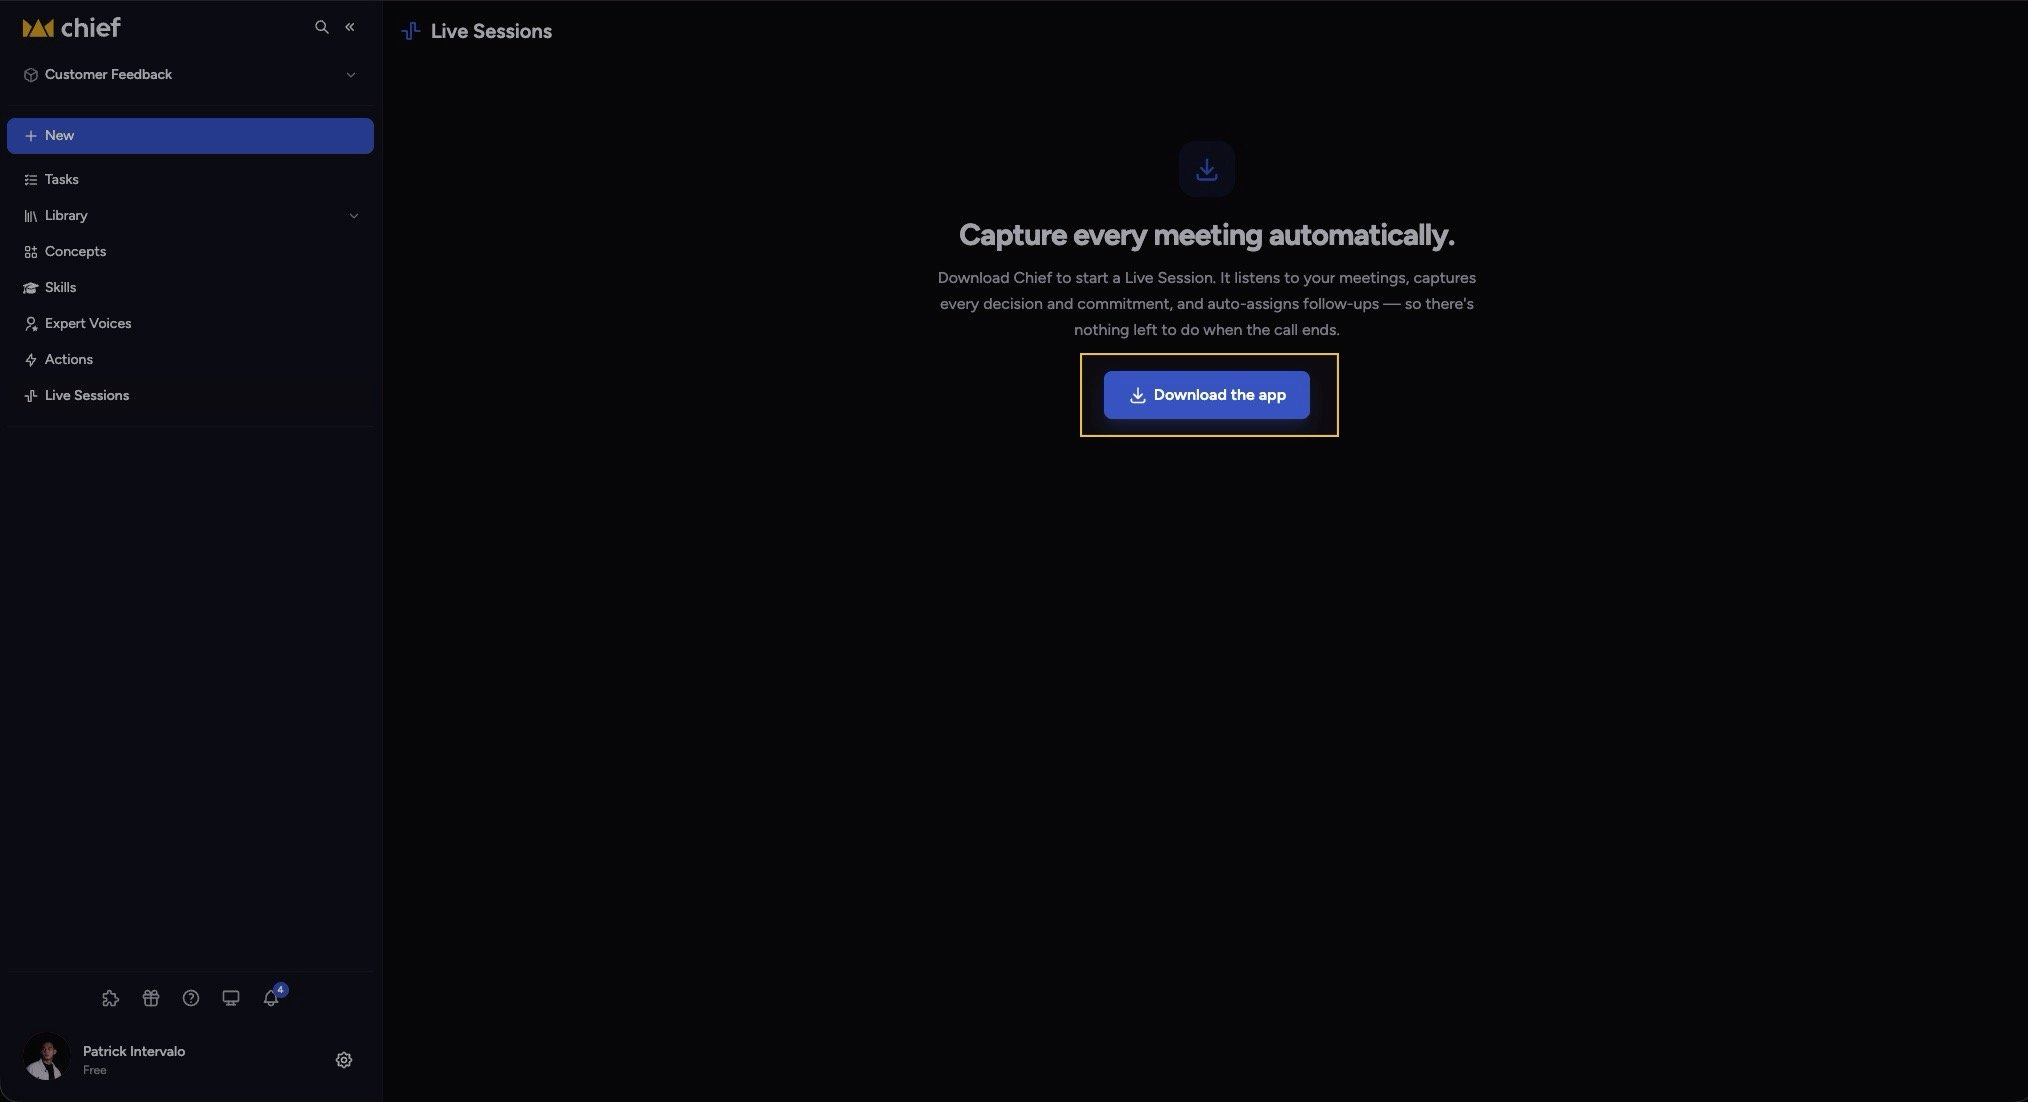
- Open Live Sessions from the left navigation.
- Click Download the app.
- Open the downloaded file and follow the macOS install prompts to move Chief into your Applications folder.
- Open Chief from your Applications folder.
Good to know: If you’re already signed in to Chief on macOS, a “Chief works best as a desktop app” prompt may appear in the web app with a Download for macOS button — that’s the same download.
Pair the app with your account
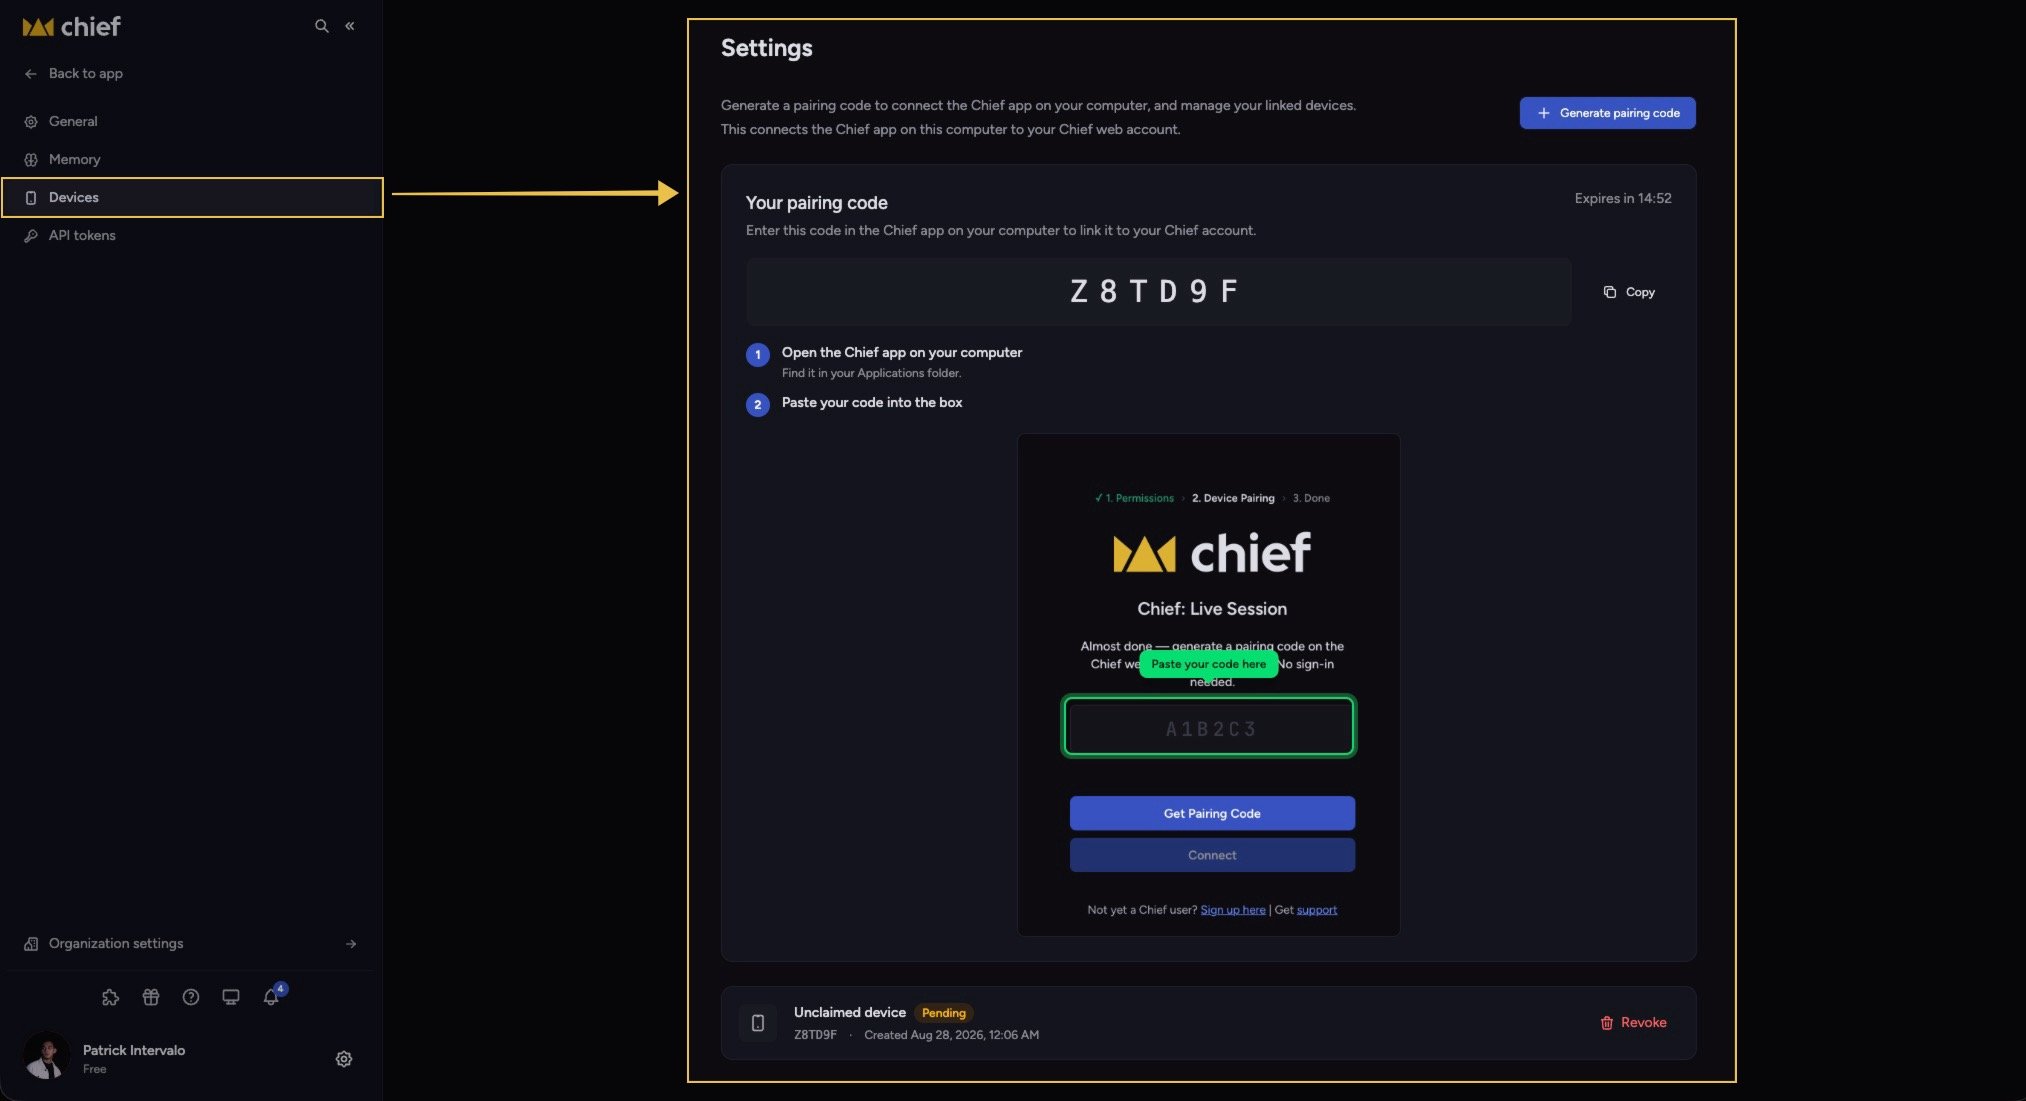
- Open the Chief app on your Mac and start pairing.
- The app opens a secure request in your browser. Sign in if needed.
- Confirm the browser code matches the Mac app, then click Connect this Mac within 15 minutes.
FAQ
I installed the app but my meetings still don't capture. Why?
I installed the app but my meetings still don't capture. Why?
The app has to be paired with your account and granted microphone and system-audio permissions by macOS. Pair it from Settings › Devices, then check macOS audio permissions for Chief.
Can I install it on Windows?
Can I install it on Windows?
The capture app is macOS only today.
Where do I find the app after installing?
Where do I find the app after installing?
In your Applications folder. Open it there to start a session or to pair the device.